Instructions:
1. The operator must read the instruction manual carefully to understand and familiarize with the incubator before turning on the power.
2. Environmental conditions to ensure the normal operation of the equipment:
a. Ambient temperature: 5 ~ 40 ° C
b. No strong light, no strong vibration and corrosive gas, good ventilation, relative humidity below 90%.
c. Use power supply: AC220±10%, 50Hz, with a reliable grounding power socket to ensure its normal operation and safe use.
3. After checking that the equipment has not found any damage after unpacking acceptance, you can follow the steps below:
a. After the equipment is placed in place, if the countertop (or ground) is not flat, it should be leveled.
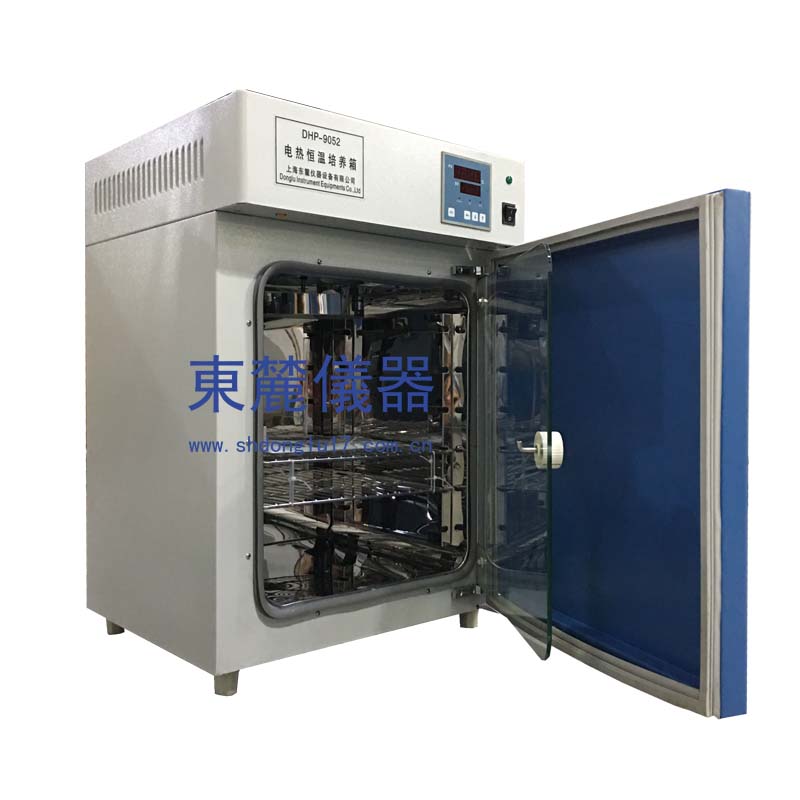
b. Turn on the power: Put the power switch on the control panel at the “1†position. At this time, the power indicator light is on, and the temperature controller appears digitally.
Show that the incubator is in working condition.
4. Open the inner and outer doors, put the items to be cultivated into the incubator, close the glass inner door, and observe the condition of the working room after the fan is running.
Often, then close the door.
5. Temperature setting:
a. Press the SET button once, at this time, the PV screen displays the “SP†character, the first position of the SV screen is highlighted, and the other bits are flashing;
b. Use the left button to cycle through the specific bits of the highlighted position displayed on the SV screen;
c. Use the down button or the up button to change the temperature value displayed on the original SV screen until the value is needed;
d. Press the SET button once, the PV screen displays the “ST†character. If the timing function is not used, press the SET button again to make the PV screen display the measurement temperature.
Degree, SV screen can display the set temperature.
6. If the set temperature is 37 °C, the heating indicator light is on, and the heating temperature rise state begins. After a period of time, when the display temperature is close to the set temperature
When the heating indicator light is suddenly turned on and off, it is repeated several times. Under normal circumstances, the temperature control enters the constant temperature state after heating for 90 minutes.
7. When the required operating temperature is low (ie, the set temperature is close to RT+5°C), a secondary setting method can be used, such as a required operating temperature of 30 ° C.
Set 28°C at a time, wait for the temperature overshoot to start to fall back, and then set 30°C for the second time. This can reduce or even eliminate the temperature overshoot phenomenon.
Get into a constant temperature state.
8. During the cultivation of the article, do not open the glass inner door unless you put or take out the contents of the box. In particular, do not open the inner door for a long time.
Affect the temperature inside the box. If the inner door of the box is switched for a long time, the temperature inside the box fluctuates somewhat, which is normal.
9. After the training is finished, turn the power switch to “0â€. (If you do not remove the item immediately, please do not open the door). After taking out the item, use the cloth
Dry the studio and keep the inside and outside of the incubator clean and tidy.
Maintenance:
The power must be turned off after each use. Always keep the inside and outside of the box clean and the water in the tank clean. If you find any abnormal problems,
Please understand the staff to overhaul, otherwise notify the manufacturer to repair.
Introduction:
The tester can help diagnose injector problems,
you can use it to test each injector individually to help
identify stuck, leaking or burnt-out conditions. It uses 12V vehicle battery
for power. It has 4 pulse modes, the continuous mode (mode 4) helps identify
good or bad injector. The mode lock feature ensures test condition uniformity.
It can work with any fuel pressure tester.
Features:
The features of each OBD code reader depends on the make and model.
However, it is common for most readers to have:
LCD screen readouts
View diagnostic trouble codes (DTC's)
Ability to reset / clear DTC codes
Get "snapshot" data so you can view what was going on when the code was triggered
Higher-end OBD code readers can have more advanced features such as:
Languages other than English
Code definitions right on the unit
Display freeze frame data
Specification:
Operation temperature range: 0 ~ 40 C
Frequency response: 40KHz + 2KHz
Power supply: 9V 6F22 battery, the maximum working current is about 35mA
Battery low voltage alarm: power indicator lights out when power supply is insufficient
Pricing:
OBD-II code readers vary in price.
They range from an affordable price ($85) to many hundreds of dollars, or more.
Photos:
More Information:
If you're interested in getting more information on OBD-II code readers or are interested in purchasing one,
check out complete list of Frequently Asked OBD Questions, and also the ads throughout this site.
Some brand names of OBD readers are Carsara, Cartrend, Actron, Innova, etc.
Reference Links:
Injector Tester,Fuel Injector Tester,Diesel Injector Tester,Fuel Injector Pulse Tester
Shenzhen Cartrend Technology Co, Ltd , https://www.cartrendthings.com